
We card makers know that when it comes to Distress Inks, there is nothing better than a beautifully blended background (ok... getting new colors of Distress Inks is up there too). We also know how ephemeral those moments are - the ones where creativity and technical skill come together and we achieve the perfect result on the first try.
Though we can't promise a perfect result on the first try every time, we can share with you tried and true methods to creating blended backgrounds that you won't want to leave behind the scenes!
1. Make Sure You Have the Right Paper
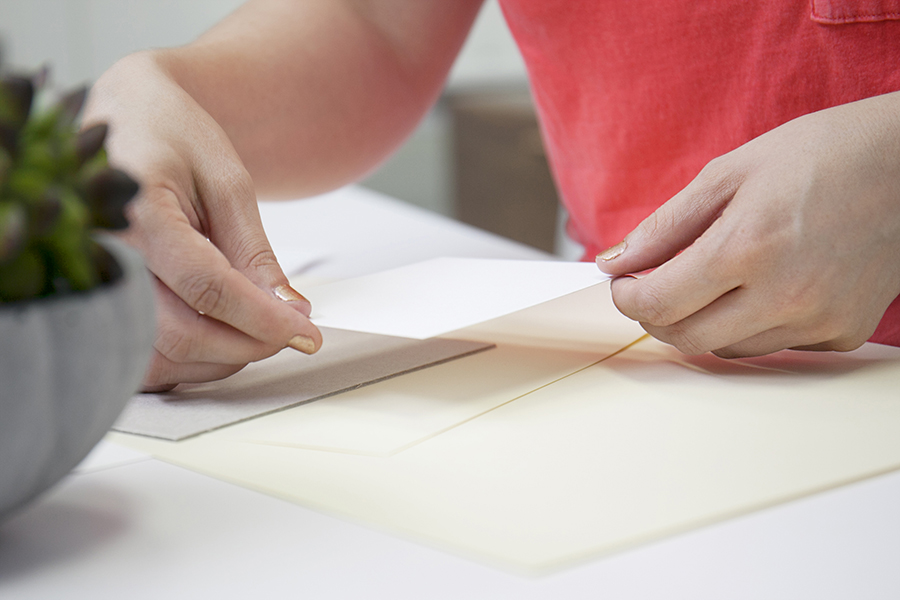
No matter how you end up blending and which tips and tricks you ultimately use, the paper itself is imperative to the end result of a blended background. Some papers are thin, so the ink might show through the other side. With a thin paper, the blending process might result in a tear or rip as well. Some papers are very textured, which would result in a blended background that isn't as soft and doesn't change hue as subtly as a smooth paper would, taking away that flawless ombre effect. Another consideration to remember is paper tone. A more yellow paper will alter the look of your blended background, in comparison to a bright white paper. The latter mentions are preference, but they're important details when it comes to your vision.
No matter what your personal preference is, if you want to create a smooth, soft blended background ombre effect, make sure you choose a heavier paper with a smooth surface. This will help the ink apply and blend much more smoothly and evenly.
2. Use a Quality Sponge

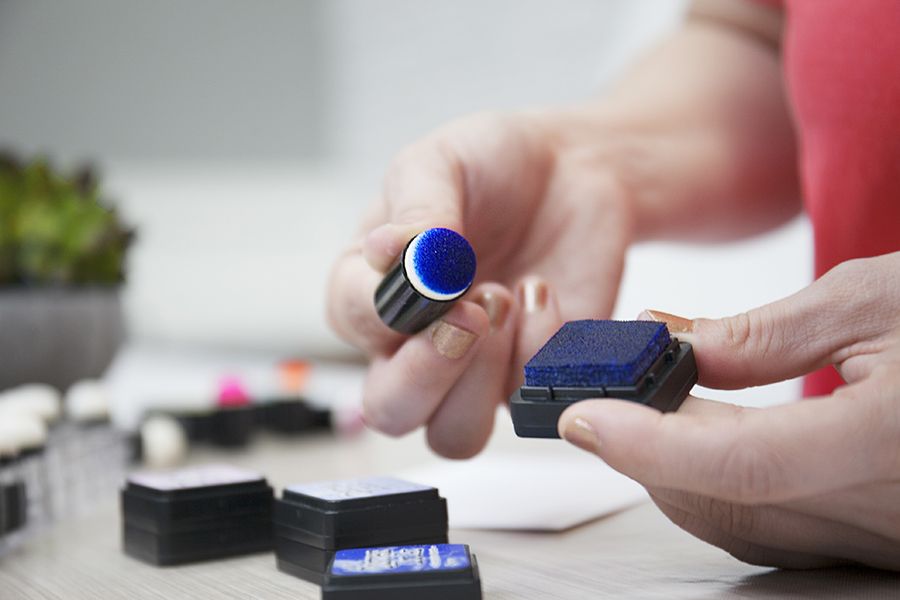
Sponges are an amazing way to easily create soft, blended backgrounds. You may have chosen the right paper, but now comes the part of actually creating the background. There are a couple important things to keep in mind when choosing a sponge. The first is the sponge's shape. A cosmetic sponge, for example, typically has harsh angles. These lines might show on your finished background, ruining the soft, fluffy look you were going for. The second thing to look for is a sponge's ease of holding. You want something that feels comfortable in your hand so you don't have to worry about how to hold it, fuss over turning it constantly to get the right positioning, and so on. The more comfortable the sponge feels in your hand, the more control you'll have over it to create the effects that you want.

Sponge Daubers are rounded sponges that won't leave harsh angles and edges on your projects. They're designed to fit comfortably on your fingers, so you can comfortably dot, dot, dot away on your projects. Because they act as an extension of your finger, they give you ultimate control - without getting ink all over your hands. Check out the reviews to see if they are right for you. Plus the little case created for them makes storage super simple.
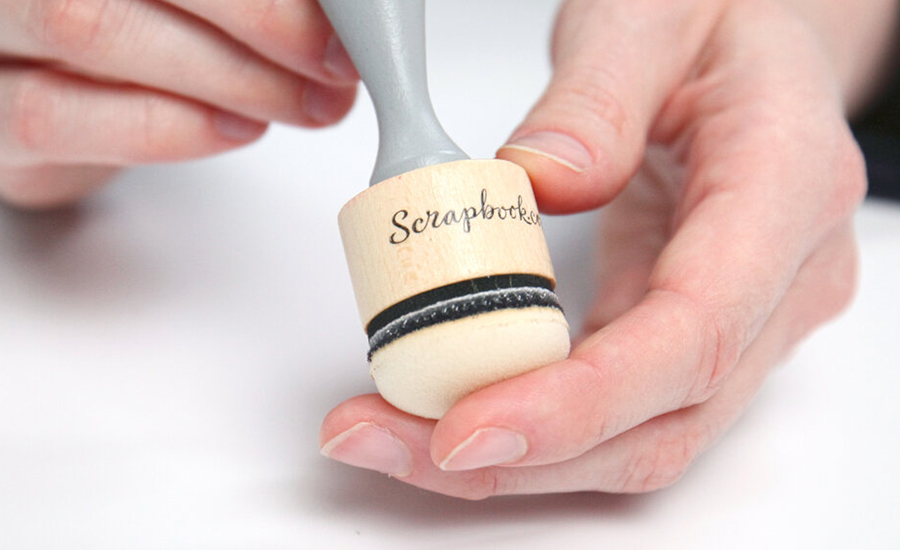 Scrapbook.com's Ink Blending Tool and corresponding replacement Domed Foam Applicators are a revolutionary pair of products for ink blending. They combine the ergonomic functionality of a blending tool with the game-changing domed foam of a craft dauber for unmatched ink blending!
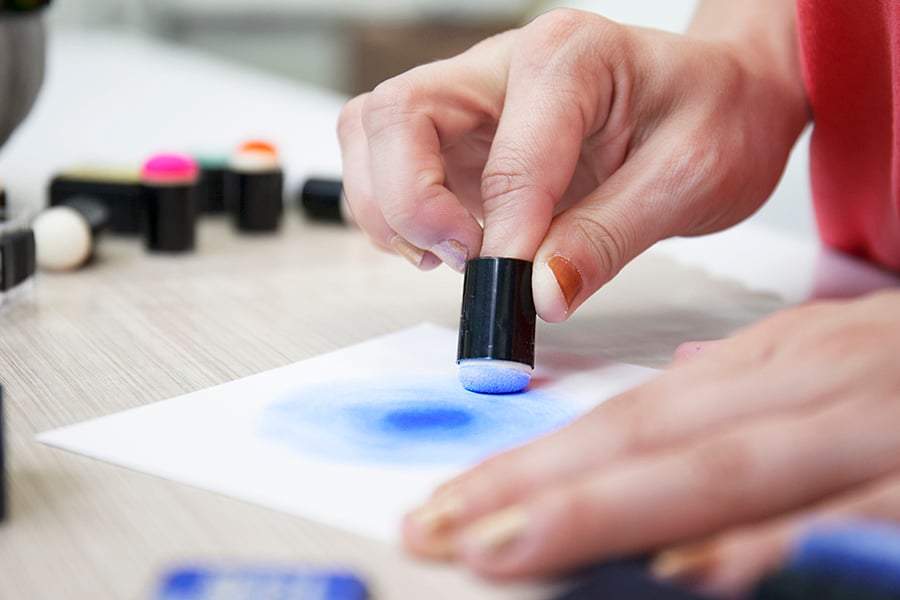
3. Start Dark and Go Light
You're staring at your blank paper and it's staring blankly back at you. Now is the time to start your beautiful, ombre background. But where do you start? One secret is to start dark and go light. Some may argue the opposite, but here's why this secret works: Your background will blend much more smoothly if you pull ink and spread it out, rather than if you continuously add more on. Think about when you're using a non-alcohol based marker while coloring something. The more passes you make over the same spot, the streakier your coloring gets. The same applies here.
Add saturated ink to the center of your paper. Blend out from the center, gently pulling and pushing the ink from the center to the surrounding areas. If you want the top to be dark and fade light, do the same thing, but from the top. The side? The same rules applies.
As you go lighter, tap off any excess ink from your dauber onto a spare piece of scratch paper, so you don't keep reapplying your saturated sponge to your background-in-progress.
This method may take some practice, but it's ultimately worth it and can be the key to creating cotton-candy soft backgrounds.
4. Blend in Circular Motions
When you blend your inks in linear motions, you're going to have the same issue as before. You're going to get streaky. Combat streaks by blending in "C" or circle shapes - think fluffy, thunder clouds - and remember secret 3. Blend from the darkest parts out.
5. Keep Going
Keep going. This applies to blending the ink out, as well as motivationally speaking! When you're blending your background, don't hyper-focus and stay in the same spot. Blend the ink out a little, then look at the big picture. Look at where you are, what areas might need tending to, or if more blending needs to happen. Continue blending, then pause again. Look at the big picture again. Back and forth, like waves in the ocean. It's much better to go slow, starting and stopping, as it's easier to blend more if needed, but much more difficult to go back and blend less!
Sticking to the same spot for too long can cause one area to be more blended than another, inconsistencies in the "big picture," and over-blending to the point of ripping up the paper fibers, and can ultimately lead to frustration!
At the End of the Day...
The most effective and easiest way to create a soft, blended background is by using a helpful sponge. Once you have the perfect blending tool, you'll be able to implement all of these recommendations and start creating beautifully blended backgrounds that will wow and impress, time and time again.


